I had fun painting this card front to share with you. The bird was stamped onto
a cream 4 1/4" x 5 1/2" card stock and then painted using Dina's paints.
I used a variety of supplies:
Dina Wakley Scribbly bird, paintbrushes and media paints, Dyan Reaveley's stamps, Tim Holtz's stencil and Archival black ink.
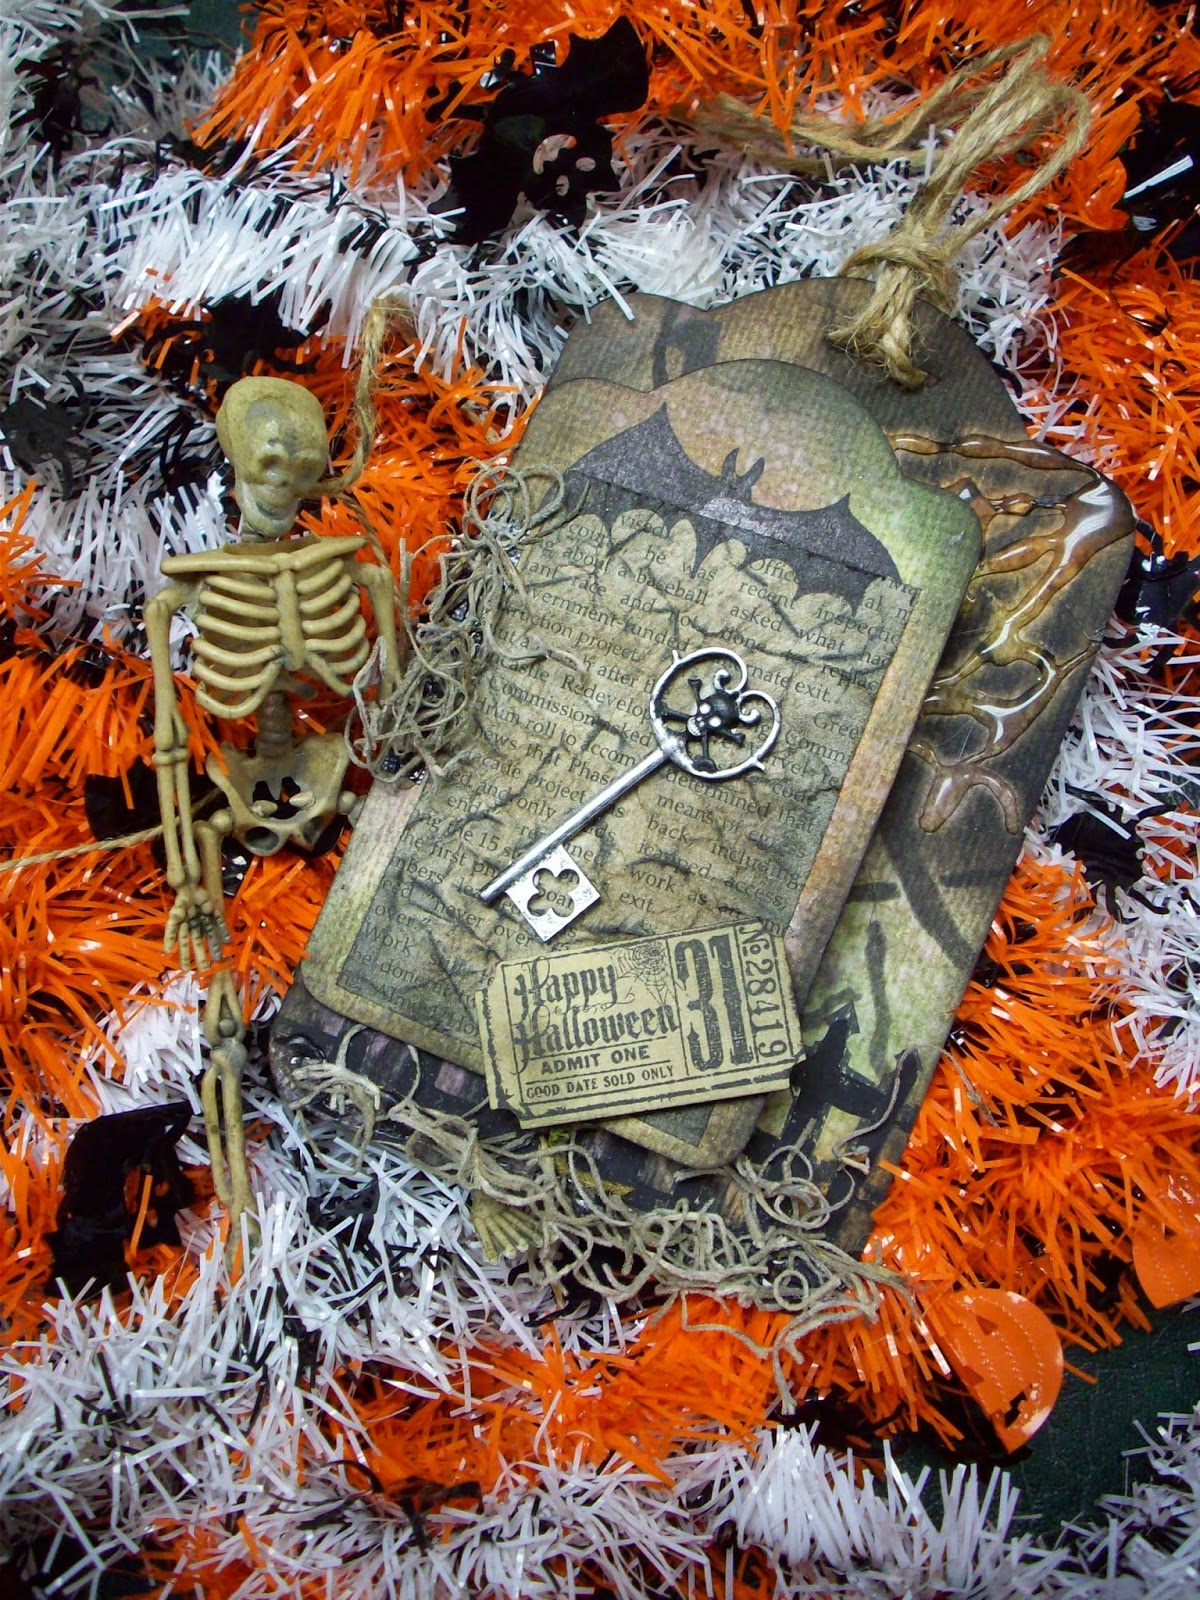
So today is the first day of September! Summer is still here for about 3 more weeks, but most of us see Autumn as the beginning of this month. So my thoughts are turning to the holiday sales and shows for gifts and decorations. Here is an example:
I used a lot of different things from my stash including Dylusions Spray inks, Tim holtz ink, embellishments and ephemera, a little bit of 7 Gypsies ephemera, and DecoArt Texture Medium Fierro. what fun to pull so many different things together into a theme!
After turning off the camera, I changed my NoSale Cash Tag to a $7 tag with an orange background. I added an old photo, and some stamps and tickets. I think I'm satidfied with it now. It's so much fun to create something with just a few random items and no real idea of where you want it to go!
I inked the letters and the edges of the panel with forest Moss Distress Ink.
After the camera was turned off, here are the changes and final tweeks I made!
THERE WILL NOT BE A MONDAY MUSINGS POST NEXT WEEK. I WILL BE HOSTING A 3 DAY SEMINAR (PAINTING WITH FRIENDS WEEKEND) AND INVOLVED WITH MY CHAPTER MEETING AS WELL.
I love how this tag turned out.
It's one of my favorites.
A black and white 2" strip
from Harper's boutique paper pad was applied across the bottom of a 4 x 8"
manila tag.
Tim's picked raspberry and
festive berries distress inks were appplied over clockwork layering stencils
followed by dot fade layering stencil with vintage photo.
Heat set.
Use foam applicator with these
distress inks over the entire tag including the 2" strip of paper:
Picked Raspberry
Seedless Preserves
Festive Berries
Place tag on craft sheet, tape
down Dyan's checkered dots stencil over tag, use plastic tool to apply modeling
paste over left side of stencil, lift off. Clean stencil with water immediately,
set aside to dry, place stencil over the tag again matching dots, spray
Primrose color shine over entire stencil, pull off stencil, before cleaning
stencil apply wet stencil to another tag, clean stencil, set tags aside to
dry.
Stamp border image across bottom
of tag with black ink.
Tim's word stamp was inked on
manila card stock, cut out, distress edges with black ink, lightly picked
raspberry on surface of stamped piece and then applied to tag.
My Natalie stamped and inked
image by Julie Nutting was dressed with designer paper and then applied to tag
using my Xyron.
Prima's
flourish metal sticker was applied to finish my tag.